


Sewing a swimsuit is a lot easier than one might think. Here I'm going to show the steps of how to make a swimsuit I designed, though the steps are pretty much the same as any swimsuit. I learned how to make swimsuits in a sewing class at Brigham Young University using the Kwik-Sew's Swim & Action Wear book by Kerstin Martensson.
- I highly recommend this book to anyone who wants to master making swimsuits! The book also comes with basic swimsuit patterns that you can use to create you own designs, as I do.
- Speaking of designs, this is the swimsuit we'll be working with:
- Unless someone asks about it, I won't go into making the pattern for this though it was fairly easy.

Step one: Take your measurements and compare to pattern. Check bust, waist, hip, back-waist-length and crotch depth. If it is a multi-sized pattern, like the Kwik Sew, alter your pattern for length if you need to and then blend your hip size to your waist size to your bust size. Super easy!
Step two: Cut out lining and baste together (go to step 3 to see how you should cut out swimsuit fabric). Use a stretch needle for your machine and a slight zig-zag stitch that will be easy to pull out. Try it on to make sure it covers/reveals what it is supposed to and fits comfortably.
Step three: Once the lining is good to go, cut out your fashion fabric. Make sure it has about 10% spandex and stretches at least 70%. Lay it out on a flat, smooth surface so you can move it around easily. Match up the selvages but not the cut edges as they are 99.99% of the time off grain. While keeping the selvages even, smooth the fabric so there are no wrinkles and no diagonal pulls at the folded edge. Lay out your patterns using the fold, not the selvages, to measure grainline and make sure the greatest amount of stretch is going around the body. Swimsuit patterns sometimes, if not always, include an arrow that shows where the greatest stretch should be instead of lengthwise grain. For me it is easier to keep it on grain if I draw a line perpendicular to the greatest stretch arrow and then keep that line parallel to the fold. Anchor your patterns down with weights instead of pins (pinning will distort the fabric as it will stretch over the pin) and cut out carefully with scissors or a rotary cutter and mat.

Step four: Sew center back seam of lining pieces and fashion fabric pieces. I used a serger, but you could also use a sewing machine stretch stitch or two rows of zig-zag stiching 2.5 long x 2.5 wide. Don't forget to use a stretch needle! Oh, and all purpose thread works just fine on swimsuits. :)
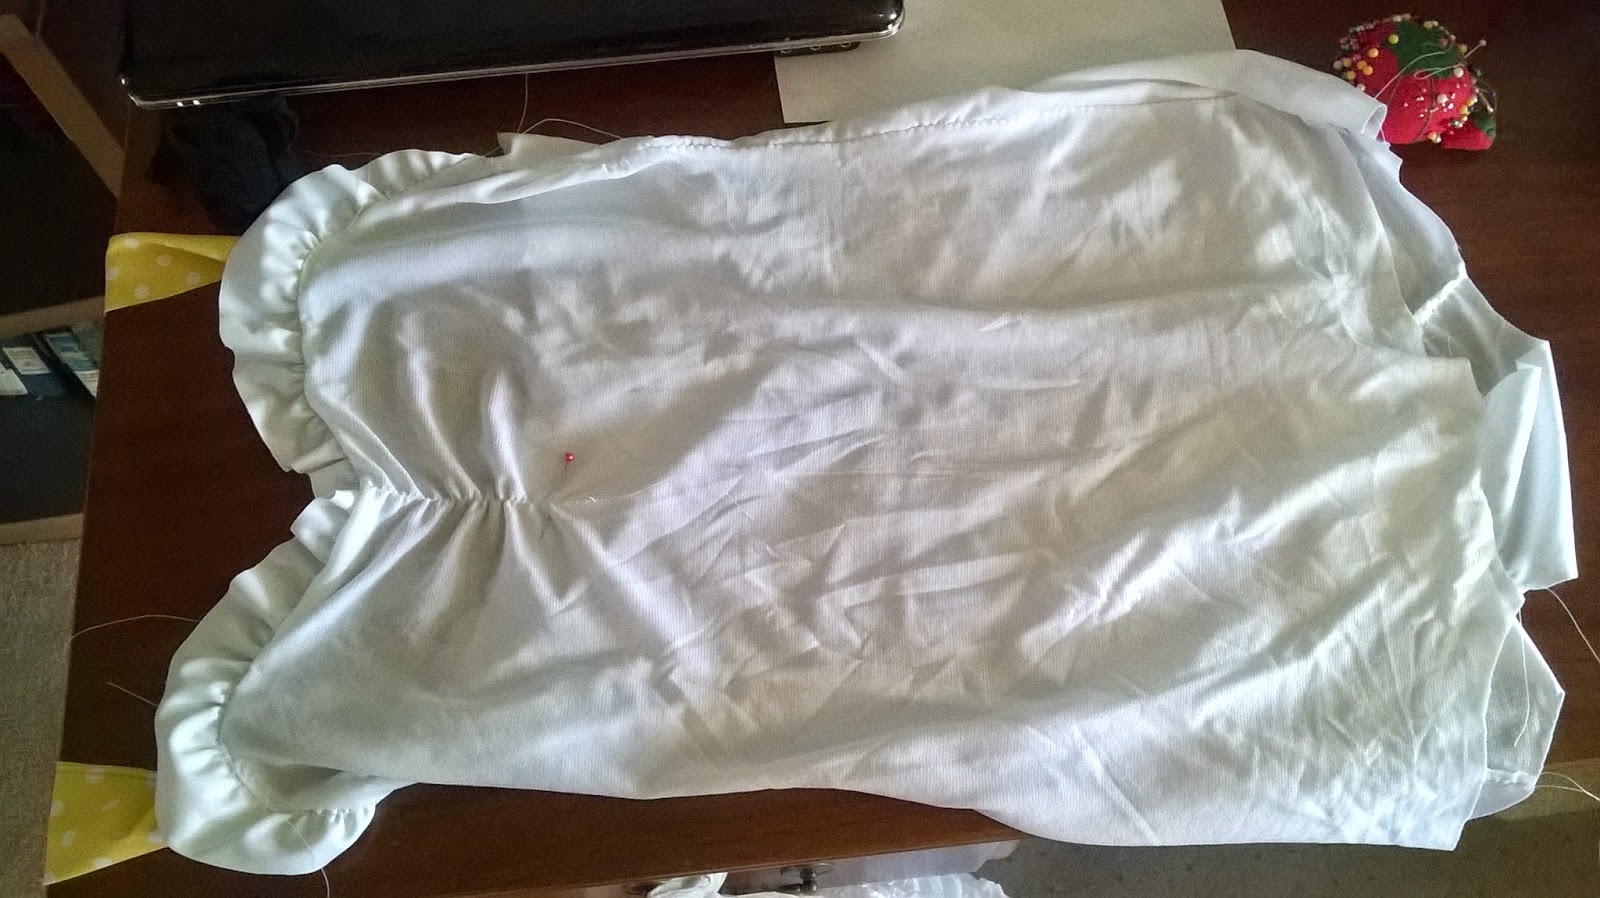
Step Five: attach lining back to fashion fabric back encasing center back seams, smoothing the seams opposite ways to reduce bulk. Sew around the edges with a 2.5 x 2.5 zig-zag so you end up with one back piece. Do the same for the front piece but leave the top neck edge open! You need to be able to slide your bra cups in between the lining and fashion fabric later on.
*The picture shows part of step 5 before step 4 was finished.

Step six: Sew on crotch piece. If you have done the "burrito seam" before this will make sense, otherwise this may be difficult to understand. You need to sew the crotch piece to the back by putting the right sides together of the fashion fabric and the right sides of the lining together. This will create a "sandwich" seam as the fashion fabric crotch piece will be bottom layer, the back piece the middle layer (which has been sewn to the back lining), and the crotch lining piece the third or top layer.

Sew this seam and then match swimsuit front to the fashion fabric crotch piece. Zig-zag together with lining crotch piece free of this seam. Now, roll up the swimsuit front and back until it is small enough for the lining crotch piece to reach around the rolled up swimsuit to the ziz-zaged front seam of the crotch piece. Sew lining into front crotch seam.

Pull the rolled up swimsuit front and back pieces out from between the fashion fabric and lining crotch pieces. Voila! Enclosed seams on an area where an exposed seam could be extremely annoying!

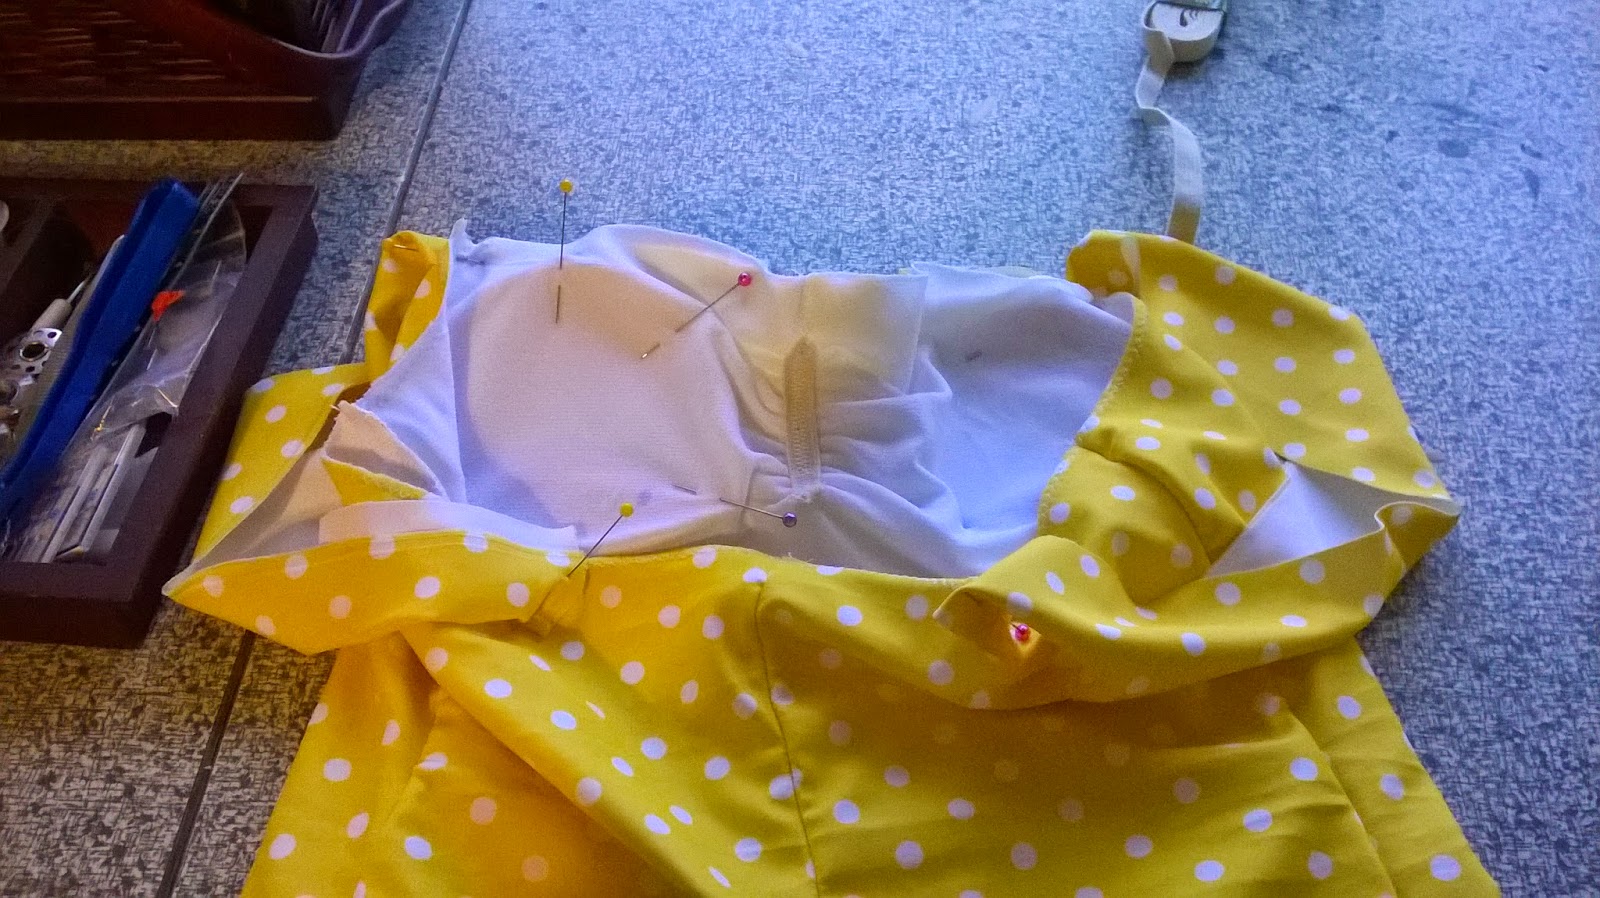
Step seven: detail stitching for this swimsuit's design. I'm gathering the front at the bust with elastic (approximately 2'' of elastic for 4'' of fabric). I pinned the top and bottom of the elastic where it needed to start and end, stretched it out in between the pins and top-stitched it in place with a double stretch needle.


Step eight: sew side seams.
Step nine: insert bra cups. Try on the swim suit, pinning on straps to hold swimsuit up. Stand in front of a mirror and slide the cups in between lining and fashion fabric, adjusting them to where they need to be. Unless you are perfectly symmetrical, which is unlikely, the cups will be placed in slightly different places which is fine!!!!! Pin them in place. Take off the swimsuit and pin the bra cups only to the lining, removing the other pins as you go.
Using the 2.5 x 2.5 zig-zag, stitch the lining to the bra cups around the edges. Make sure that you don't catch the fashion fabric front! You can only do this if you left (or unpick) an opening at the top between your fashion fabric and lining. It'll be tricky but you can do it. :)

When you're done, close up the opening.
Step ten: attach 3/8'' wide elastic to leg openings. Cut elastic to 1-2'' smaller than elastic opening. Zig-zag cut edges of elastic together (don't overlap, just butt the edges next to each other and allow the zig-zag to pull the two sides together.) Now your elastic is circular like your leg opening. Divide the elastic and leg opening into quarters, then pin the elastic at the quarter marks to the inside of the suit. Usually you need the elastic just a little tighter in the back than the front (to prevent wedgies) so move some of your elastic to the front side of the swimsuit, making it a tighter stretch in the back. Sew the elastic to the leg opening, stretching it to fit between the pins, with a serpentine/multi-stitch zig-zag 2.5 mm length and 5-7 mm wide. The elastic should stay flush to fabric cut edge all around leg hole.


Step eleven: Prepare straps and neck edge. Sew up a tube for the straps and then insert elastic (I cut out two 1 1/2'' x 14'' rectangles, sewed it into a tube with a 1/4'' seam and inserted 1'' x 14'' piece of elastic). The elastic is optional but I think it looks tons better with it. The picture below shows it both ways for comparison, and note how the seam in not visible from the top side of the strap (I have it centered on the backside):

Gather ruffle for neck edge with two rows of basting.

Zig-zag ruffle and then the straps to neck edge. Cut 3/8'' wide elastic that is 10% smaller than top opening (say you have a 28'' opening, -10% would be -2.8'' so your elastic would be 25.2'') and serpentine it on in a similar manner to the leg openings (evenly stretched all around).

Step twelve: Double needle top-stitch. Everywhere you put the 3/8'' elastic, fold it back to the inside of the suit and using a stretch double needle, sew the elastic down. You have to do this from the outside of the suit or else you'll get an ugly zig-zag on the outside and two nice rows of stitching on the inside. :/
The double needle should not be centered over the elastic or near the fold. It should be close the the inner edge of the elastic, but not so much that it is falling off. You may also want to lengthen your stitch to 3.5-4 mm, double check that your machine is on straight stitch and check that the needles are centered or else you will break them.


Step thirteen: Drawstrings! Cut out two 4 1/2'' x 1/4'' rectangles for the casing and four 1'' x 9'' rectangles for the strings. Sew each of the strings into tubes with 1/4'' seam allowances, turning them inside out and tying off one end of each.
Cut the bottom of the casing rectangles to match the slope of the leg opening at the side seam. Center and baste the rectangles over either side seam, ending 1/8'' away from the edge of the leg hole. Stitch-in-the-ditch up the side seam, sewing the rectangles up the center to the suit, and stop 1/4'' way from the top of the rectangle. Sew 3/8'' up either side of the center creating two slots stopping again 1/4'' way from the top of the rectangle. Pull out basting. Using a safety pin, pull the drawstrings up the slots as shown, stopping when the drawstring is flush with the top edge of the rectangle.
*I used my machine's stretch stitch, but a very narrow zig-zag will do the trick.


Top-stitch over the drawstrings and rectangle 1/4'' from the top edge.

Step fourteen: Bow! I like cartoony, 3-D bows that hold their shape. To achieve that look, sew up a tube of fabric, turn inside out and insert elastic (for 3/4'' x 3'' bow, cut a 2'' x 6'' rectangle for bow and 2'' x 2'' square for center piece). Once the elastic is inserted, push the edges of the tube/elastic together and zig-zag it like we did with the leg elastic, creating a circle. Center this seam in the circle to create a bow structure and stitch down, as shown.

Sew the square into a tube, turn inside out and sew the tube ends together. Turn inside out again and slide over the center of the bow. Hand sew onto swimsuit and make it very secure!

Finished!


No comments:
Post a Comment